Carbon printing was invented in 1855s. By then, only a couple of decades after the inception of photography, the problem of print permanency came into view of those concerned with the longevity of their work. Prints faded, cracked, developer stains and so on. And so a call was put out for a more permanent method of photographic reproduction. Along came Alphonse Poitevin with his brilliant solution - his solution was to use carbon pigments instead of metallic salts to make up the final image. Carbon pigment is among the most stable substances known in the art world and, seeing how the materials used in a carbon print are the same as those we see in paintings dating to before Renaissance, the images are projected to last well over 700 years at the very least. The question of whether or not the actual support on which they are presented will last that long is a separate issue that I will not go into right now.
The basic idea upon which Alphonse based his invention wasn't new. It has been known for a while that gelatin becomes insoluble after it has been sensitized with a variety of dichromates and exposed to UV light. Adding pigment and working out some minor details was all that was left.
Aside from incredible longevity and extreme resolution, the part that I find to be most appealing in single transfer carbon prints that separates them from any other photographic process is a relief created by dried gelatin. The final prints have an almost 3D look about them that is truly impossible to relate through a digital image, but here's an attempt in the form of a snapshot of a small area of one of my prints taken at extreme angle to show the raised texture.

Relief crated by layers of gelatin in the final print
In a nutshell the carbon printing goes a little something like this. Prepare the a solution of pigmented gelatin ('glob' - term coined by Vaughn and now widely in use), flow it onto the supporting tissue, dry well (takes up to a couple of days depending on humidity), sensitize with potassium or ammonium dichromate (caution must be taken while working with these chemicals as they are highly toxic), dry (a couple of hours is usually good), in contact with a negative expose the tissue to UV light, re-wet tissue briefly, join it with final support (paper of different kind or other materials can be used), place under weight and wait for gelatin to adhere to the final support, place into hot water for a little while, peel off primary support, develop the print in hot water, wash, dry, enjoy. The basis of the process, as mentioned above, is the hardening action of dichromated gelatin when struck by UV light. More of the gelatin gets hardened and made insoluble by light penetrating through the clear areas of the negative. This action takes place at the top surface and continues downward - the clearer the area of the negative the deeper it does during exposure. When the tissue is flipped that hardened gelatin comes in contact with the final support and adheres to it. Then the remaining unhardened gelatin is simply washed off with hot water.

Print developing in hot water
as gelatin is washed off
Any photographic process has variables and there are as many ways of doing things as there are artists creating work. Carbon is no different. The type and amount of pigment used, gelatin concentration, preferred negative density, water bath temperature - all vary from person to person. Being a complete novice in this I will spare my readers the particulars as I don't want to mislead anyone into believing I know what I'm talking about there. I will just say that the amount of dichomate used to sensitize the tissue as well as that of pigment in the glob contributes to controlling contrast. The amount of pigment in the glob also dictates the depth of the relies. One can also chose to mix up any color desirable - black, brown, warm cold, blue, green, you name it.
Carbon printing is a relatively time-consuming procedure and does call for some specific tools not found in most regular darkrooms (though some of them can be omitted). It is nice to have a magnetic stirrer to mix the pigment into glob evenly and without creating bubbles. A hot plate or some other way of keeping a warm bath of water in which the glob will wait to be poured without coagulating is a must. Many people nowadays resort to the use of digital negatives because with some amount of knowledge about those a desired consistent density range can be achieved, making the printing phase easier to standardize. If you are using real in-camera negatives a densitometer should be helpful to have, but not necessary. Here's a shot of an item in my working collection arsenal that hasn't seen much use ever since I got it. A Kodak model 1A densitometer -made of Bakelite probably around 1920s or so. Isn't it just darling? Sure is handy and easy to operate.

Kodak 1A densitometer
A quick word about density range. Apparently carbon can handle a rather wide range of negatives from normal range to something so extreme that if I ever would have pulled out a negative like it from fixer in the past I probably would have immediately tossed it as being unworkable when making gelatin silver prints. To build up the most relief, according to Vaughn, contrast is key. Thus his negatives exhibit an extreme tonal range that I have never seen before. Below is a shot of 4 of his Tech-Pan 4x5 negs as they lay on a light table. Vaughn brought a print made from the top right negative and it is simply stunning. There is full detail in the shadows down to the most clear areas, those in the deep shade of redwood forest, AND sunlit leaves of plants and that log in the foreground are nowhere near pure paper-white either with subtle, yet very discernible tones. According to my Bakelite Kodak friend this negative has a density range of 2.4 and that's not the widest latitude Vaughn has made gorgeous prints from.

Now that's DENSE!
The workshop was conducted in the following manner. I met with Vaughn last weekend and we poured the tissue. The pouring process is not as messy as one can imagine it to be, but neither is it a sanitary process - bits of black sticky gelatin end up all over the place and, while at first are kinda fun to play with, do become annoying rather quickly, so I recommend being cautious and methodical while doing this. Once gelatin hits the tissue it cools and sets up fairly quickly, so one should move at a relatively high pace. Since it needed a day or two to dry and is not spoiled by being dry longer we gave it full week, during which Vaughn enjoyed the scenery of Joshua Tree Park.

Glob on magnetic stir

Pouring carbon tissue (a clear plastic support is hard to see
against black glass, but it's there)

Tissue drying

Ammonium Dichromate - please read material safety data sheet
prior to use, this stuff is nasty, but with care you'll be OK.
By the time the two other students arrived the tissue was ready to expose and, after a brief chat about what's about to commence, off we went. First there were the customary test strips. Exposures are generally pretty long, so our increments were 10min each. Vaughn brought a pair of 750w mercury vapor lamps with which he normally works. I used an exposure unit that was home made an unknown number of decades ago, but apparently works like a charm (aside from being clunky and needing a separate ultra-heavy power supply ballast....). My exposures actually ended up to be about 2/3 or even 1/2 of what was needed by others.

Tissue exposing in a contact printing frame
After 15-20min of exposure comes a brief period of activity followed by the boring part. First exposed tissue and the final support must be briefly immersed in room temperature water to start gelatin swelling and then, rather quickly, they must be joined together, placed on a glass sheet, squeegeed off and wiped dry and placed under some weight. There they remain for a half an hour or so... Time for coffee!

Tissue and final support under pressure
A good workflow would probably be to start another exposure at this time rather than indulge in coffee and internet surfing for those 30min. If one has 2 or even 3 exposure sources and can keep track of what's happening where, then multiple prints can be worked on simultaneously and the whole thing can be even more hectic and fun.
After gelatin had a chance to permanently adhere to the final support it's time to develop. The 'sandwich' is immersed in hot water for a few minutes and gelatin softens. Then the tissue is peeled away and the blackness under it looks like nothing but a void of the gates of hell, with arms of black ooze stretching out through the water in all directions. Patience and trust must be present - somewhere under there is your precious image. With agitation more and more black soluble gelatin is washed off and a faint semblance of your image is revealed through the muck. More agitation. More black muck. Maybe add a bit of hot water to keep the bath around 120°F (48°C). Finally you start to see more and more of your image and less and less black gelatin emanating from it. Probably not a bad idea to carry your print into a new clean hot water bath. There you continue agitating until the you see no more black come off of it. Time to put it in cold water for a few minuted to wash off any and all possible dichromate that may be lodged in the paper and then hang your print to dry.

Just after the tissue has been peeled off
As excited as I was to be finally doing this I could see that the learning curve will be long and steep. I tried to do two exposures and and both turned out too dark and muddy. After everyone left I went to get a bite and came back to the darkroom determined to pull off something at least somewhat satisfactory. Besides, we sensitized a lot more tissue than we used and it wouldn't be good the next day - I don't like waste and I don't like ending a day without accomplishing something I can feel good about. I thought to myself that obviously even the negatives that I deemed to have very high contrast were too flat for this tissue and pondered what might I have that would be dense enough to leave a pure paper white.... Then I remembered that back in junior college we worked with graphic arts film called Kodalith. This stuff is designed to give PURE bulletproof blacks and clean clear areas - no gradation at all. With it we created outlines - the type that today can be summoned by one click of a mouse in Photoshop under Filters-Stylize-Find Edges, except it took us about 3 hours and 4 steps back in the 90s and it actually came out way cooler than what you get today with digital anyway. Of course I still had those negatives taped together just like I left them, so I pulled this print from them and was very happy.

Kodalith outline with a negative/positive sandwich
Sunday we met again and fine-tuned out prints. Different strengths of dicromate were applied to new sheets of tissue because all three of us needed a tissue with higher contrast rendition. While tissue was drying the other participants got a chance to pour new tissue and see how that works.

Vaughn Hutchins and Glob
By the time that mess was over we could start printing on freshly-sensitized stuff. This time I got two prints I was very happy with.

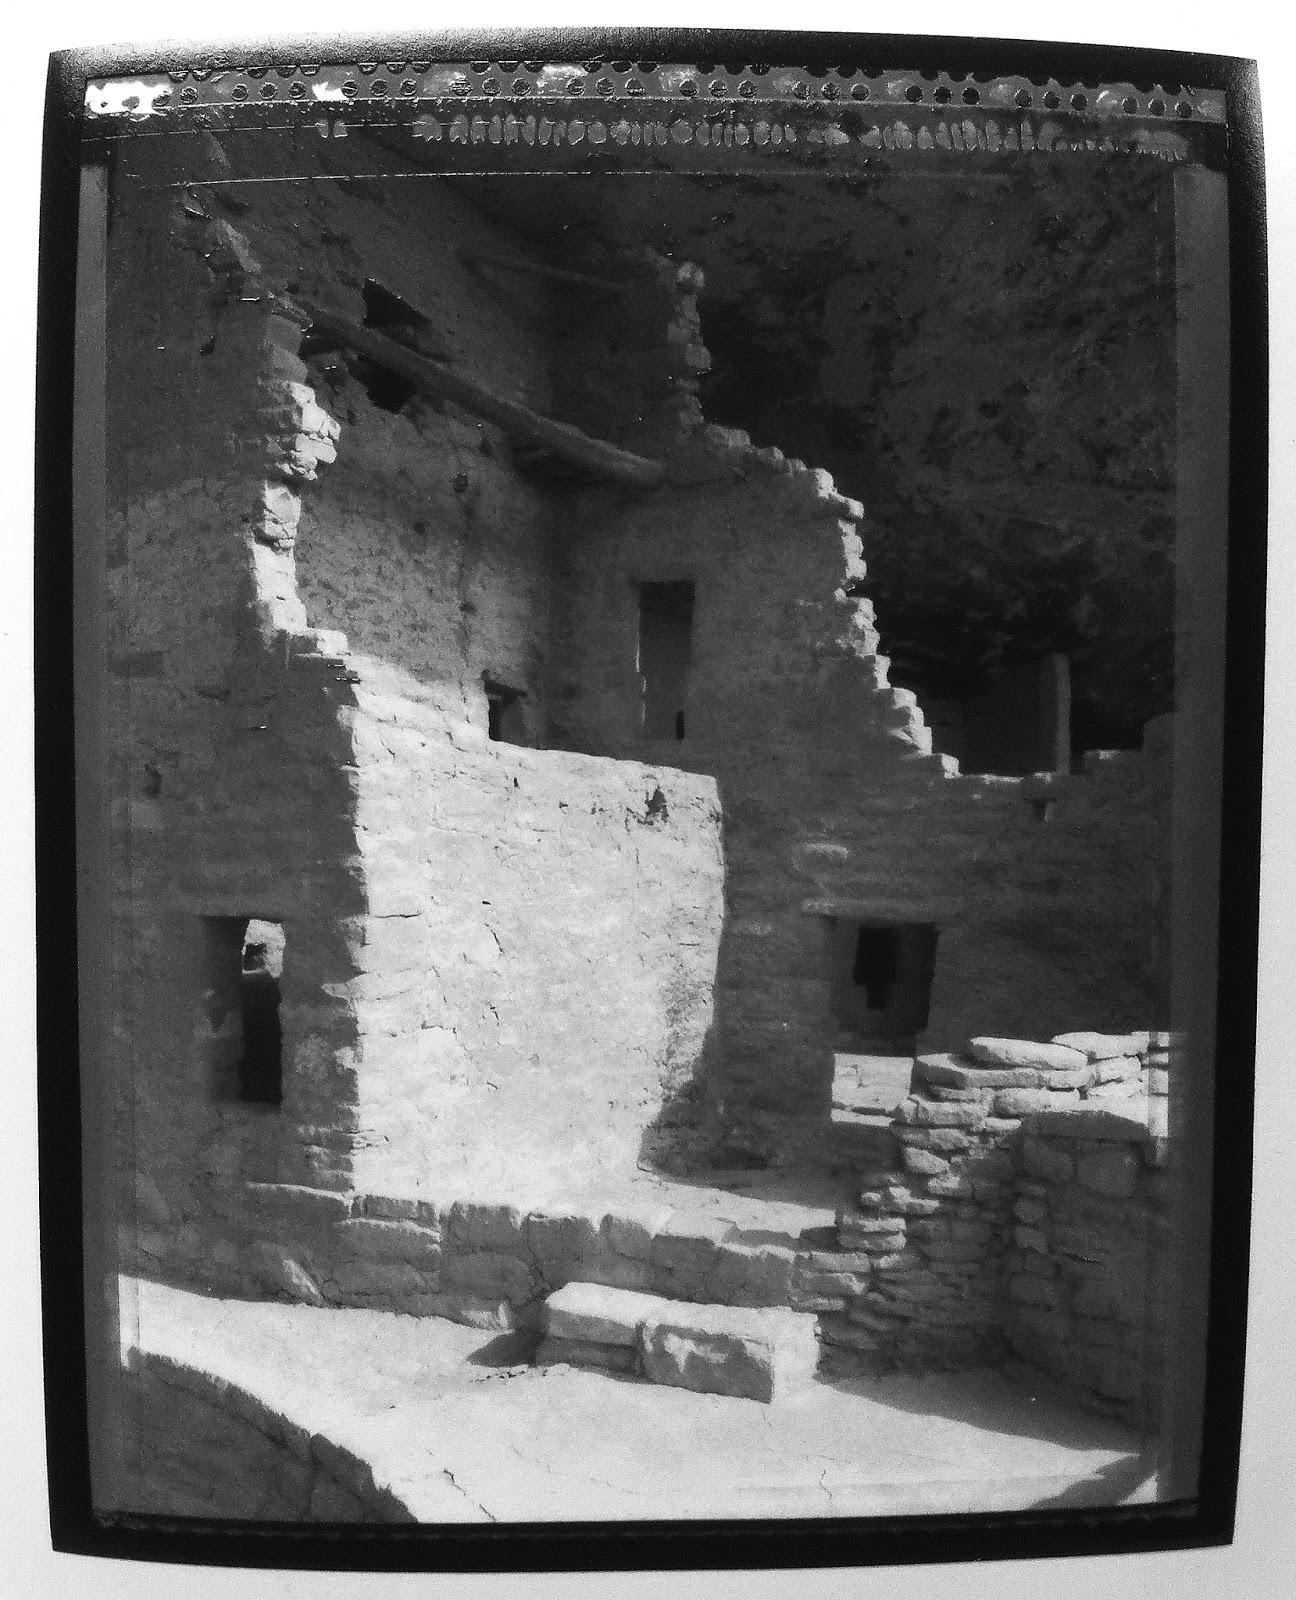
Photographer's Chair 2015
Wet plate collodion negative
Polaroid type 55 negative

Relief of the Mesa Verde print - I think it works
very well with this subject.
Please do excuse my use of an iPhone to copy these 4x5 prints and any grammatical mistakes that may appear above. These prints take a while to dry and they also dry with a slight curl to them, so I didn't want to wait that long to write this post. Besides, only scanning would work to present them in their true rectangular fashion and I don't have a scanner (space on my desk is usually take up by things like magic lantern slide boxes, negative files, lenses, shutters, etc. Also, it is almost 2:30am - due to residual post-workshop adrenaline that must be still flowing through me I'm still not sleepy, but who knows if any of the above will make sense to whoever is brave enough to read through it. All I know is that there's more carbon printing ahead and there's tissue already waiting for me. Now all that's left is to perfect my wet plate negative-making skills to the point where they will have the range required.
Anton Orlov
Anton Orlov


